• An affordable solution for the problem of replacing a cracked HUD bezel
• Eliminates the need to pay a dealer a small fortune to replace a cracked bezel
• Thousands of C5 Corvette owners will be able to repair cracked bezels easily and quickly
Contact ray.fullwood@c5hudbezel.com for more information.
Cracked C5 Corvette HUD Bezel
Installation Instructions
Thank you for purchasing the C5 Hud Bezel Retrofit Kit. This Bezel has been designed to be installed in less than 30 minutes by the consumer, and look like a professional installation without the expense and time of removing the dash cover to have the OEM Bezel replaced
FIRST CHECK BEZEL FOR FIT AND THAT YOU ARE SATISFIED, IF NOT, RETURN THE KIT UNUSED, AND I WILL GIVE YOU A FULL REFUND. (less return S/H fees).
Note: Do not install in direct sunlight, as the adhesive may set up too fast (less than 85 seconds). Make sure any cracks on your Bezel are as even as possible so the new Bezel has a good fit. Do not use under 50 degrees F. Use alcohol wipes to clean bottom of new bezel and top of your bezel to assure a good adhesive bond. Wear gloves supplied in kit to protect skin from adhesive.
Step 1. Use the alcohol wipe supplied to clean the broken Bezel of cleaners and protectants for a good adhesive seal. (VERY IMPORTANT! CLEAN WELL!)
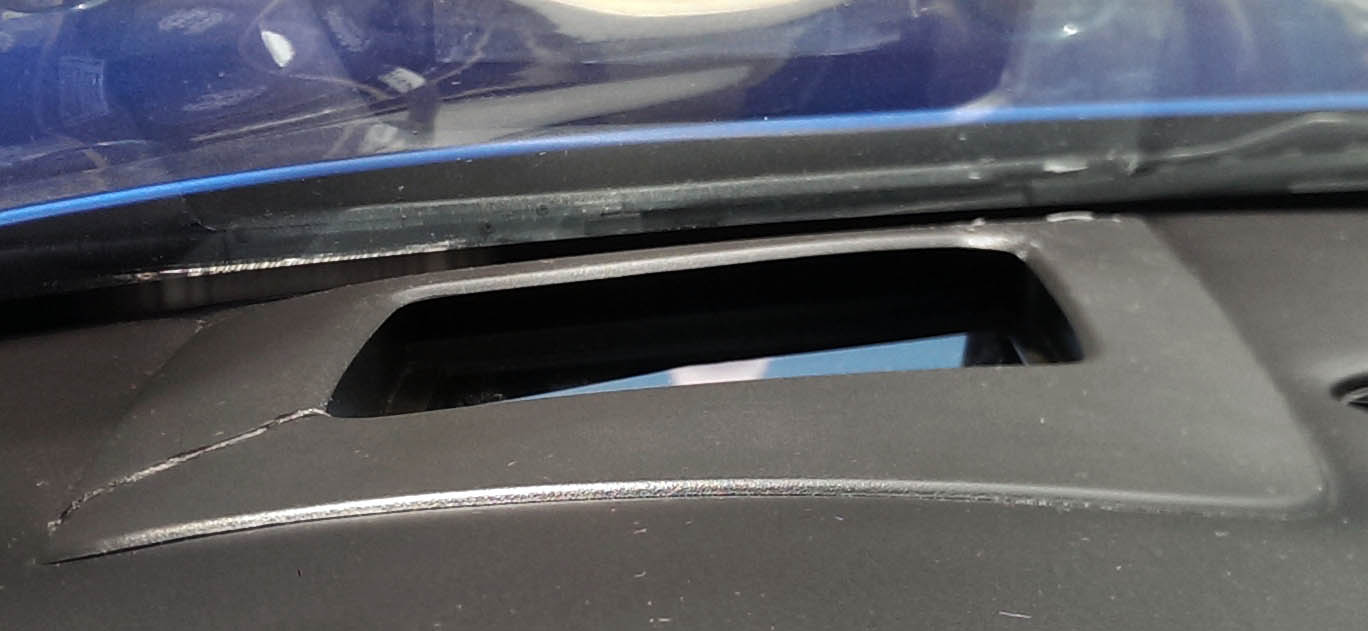
Step 2. Place the new Bezel cover over the existing Bezel and check for good fit. It completely covers the broken Bezel down to the dash pad in almost all installs. (Use painters tape on top of new bezel for protection from adhesive during install). Don’t tape front of bezel down to windshield, so tape can be removed. See picture #1
#1 Instructions
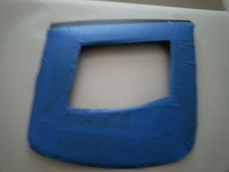
Step 3. Place a piece of paper, cloth, etc. over the projector glass, and use blue painter tape to go around your broken bezel on the dash pad for protection from adhesive drips and excess during install ( Get as close to bezel as possible with tape). See picture #2

#2 Instructions
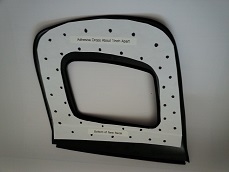
Step 4. Put a drop of the adhesive around the entire bottom center of the new Bezel zigzagging about 1 inch apart. Now carefully place the new Bezel over the old cracked Bezel and apply firm pressure while properly aligning it dispersing the adhesive. Keep pressure on bezel for about 1 minute. (Remember, the adhesive sets up in up to 85 seconds depending on conditions, humidity, temp, etc., do not use under 50 degrees F). You don’t need much adhesive, too much will prolong set up time. If weather is cold, run heater to warm interior before installation.

#3 Instructions
#4 Instructions
Step 5.
Release pressure, your new Bezel should be in place. CAREFULLY wipe off any excess adhesive, if any, on blue tape and remove tape from dash pad and bezel, and remove projector glass protection.
Step 6. Allow 24 hours for adhesive to fully cure.